
Como fazer um colar de pérolas com nozinho
(Por favor clique aqui para visitar nosso canal no YouTube)
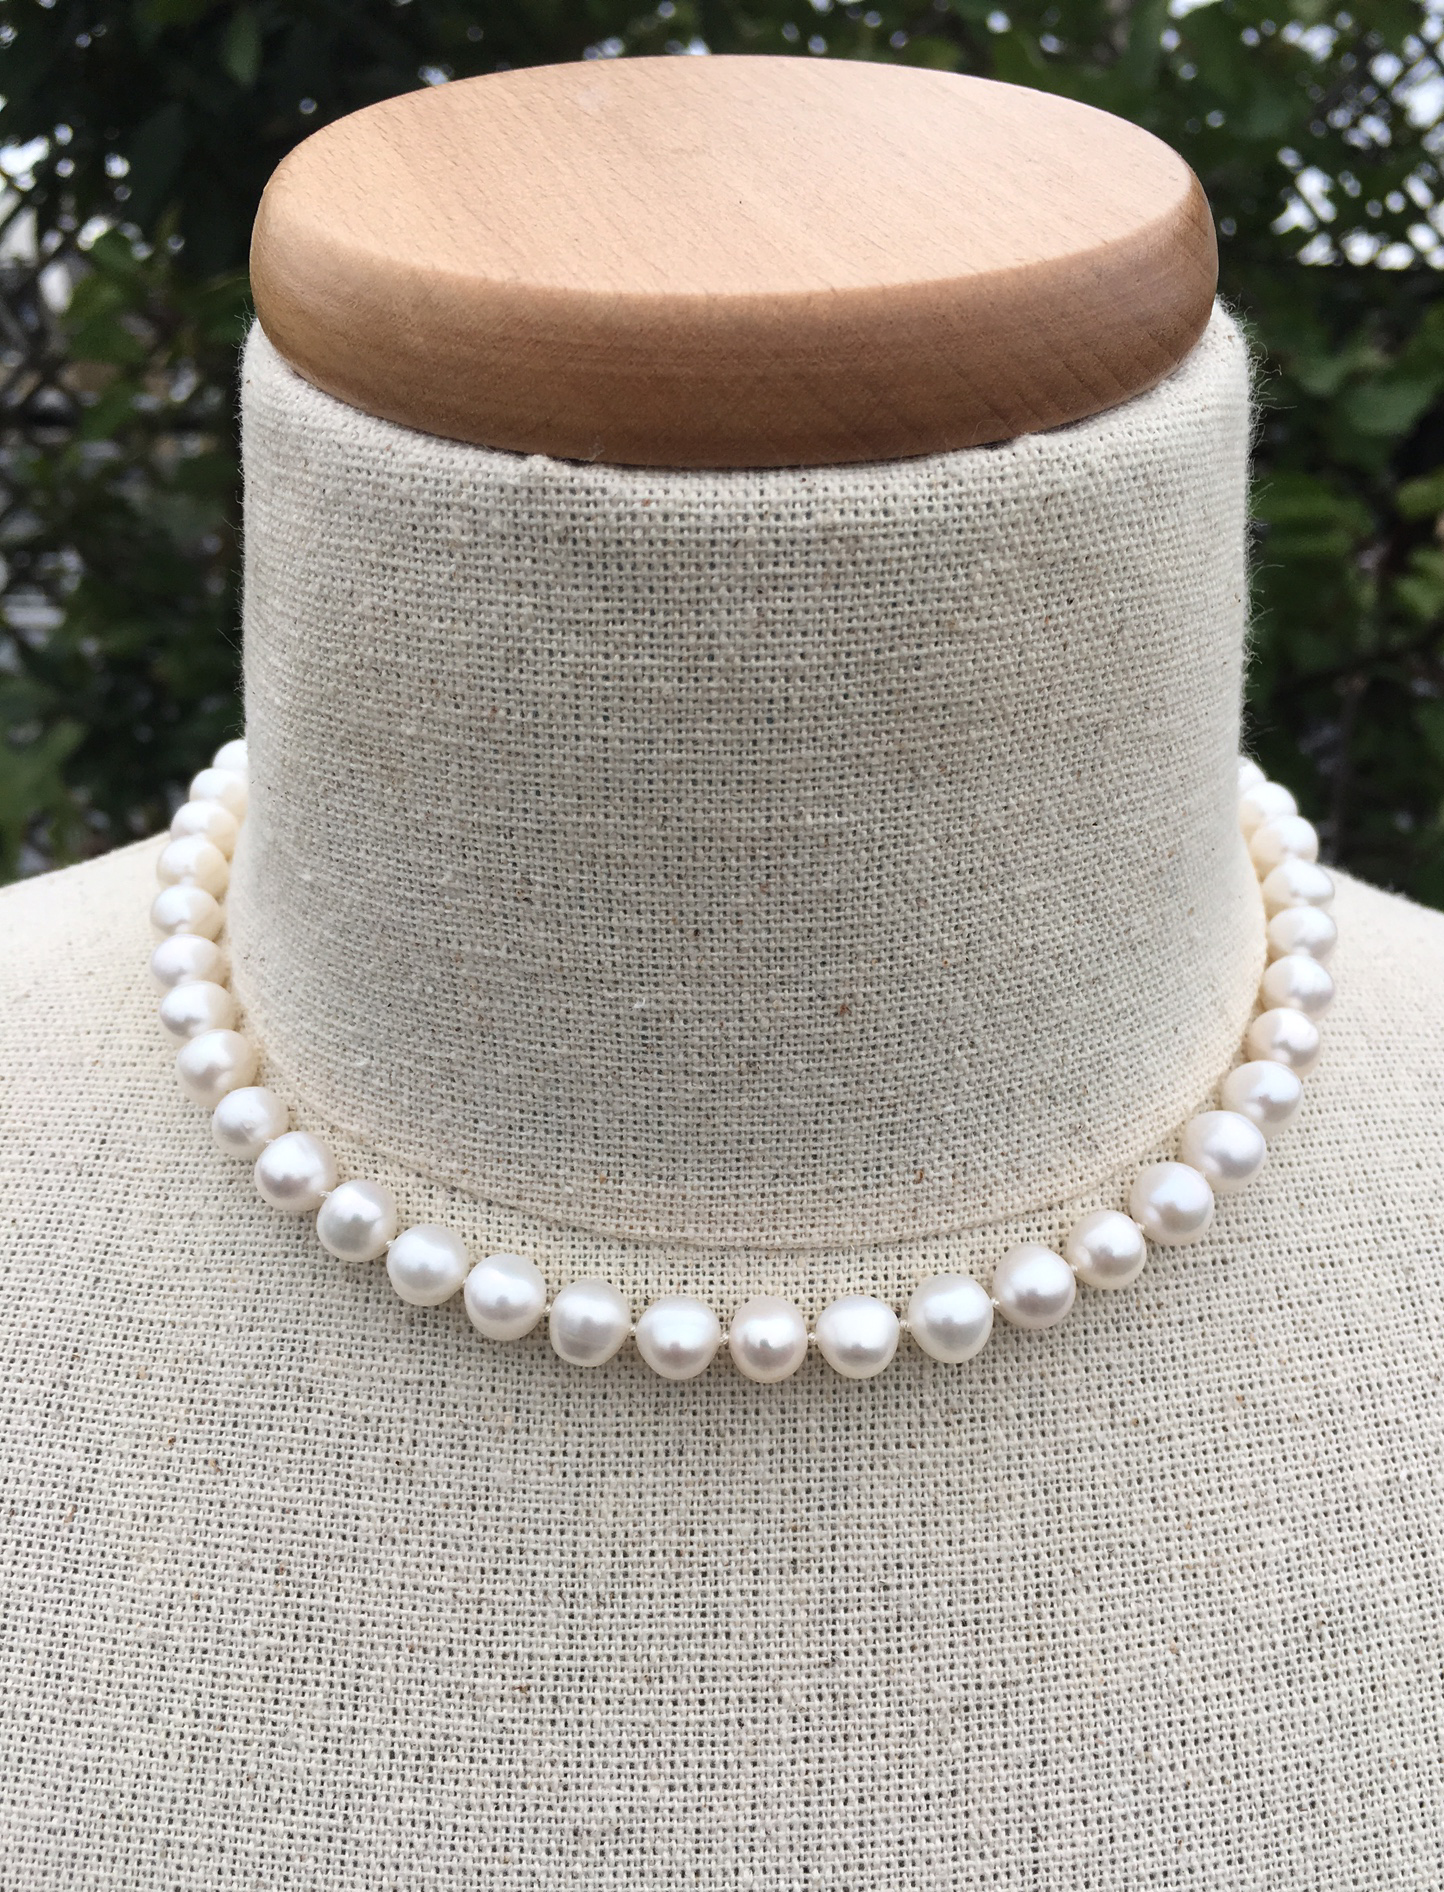 Foto: Colar clássico de 45 cm feito com pérolas de 7-8 mm de diâmetro.
Materiais e instrumentos necessários:
- Pérolas genuínas ou não. Na verdade, qualquer bolinha pode ser usada, desde que seu furo tenha 0.8mm de diâmetro. Neste projeto, usamos pérolas de água doce (também chamadas de naturais ou cultivadas) de 7-8mm de diâmetro com furo de 0.8mm (este buraco interno determinará a espessura do cordão de seda a ser usado).
- 1.5 metros de cordão ou linha de seda marca Griffin tamanho S6F, com aproximadamente 0.35mm de diâmetro. Esta medida de cordão é ideal para pérolas com 0.8mm de furo.
- Dois cortes de 10mm cada de arame espiral francês em cor dourada
- Fecho de colar de sua escolha. Nesse colar foi usado um fecho “box” da ClaspGarten banhado a ouro 23 quilates com detalhe de pérola falsa.
- Cola para artesanato (Dois bons produtos seriam: Tekbond T6000 ou a G-S Hypo Cola, ambas com bicos finos para trabalhos mais minuciosos)
- Tesoura
- Alicate de bijuteria para cortar arame (para cortar o arame francês, caso não o tenha, a tesoura poderá ser usada)
- Fita métrica
- Agulha de miçangas (também conhecida como agulha de olho, agulha aberta, agulha dobrável, etc). Nesse projeto, usamos uma da marca Beadalon tamanho médio (0.36mm x 6.4cm).
Instruções:
 Enfie o cordão de seda na agulha. Depois enfie a maioria das pérolas no cordão – deixe 6 delas de lado (elas serão usadas no final). Passe um dos pedaços de arame-francês, puxe-o e coloque-o no meio do cordão de seda. Insira a argolinha do fecho e volte com o cordão pela primeira pérola. Curve o arame, formando uma argola. Puxe o cordão cuidadosamente para que não haja espaço entre o arame francês e a primeira pérola. Dê um nó duplo entre a primeira e a segunda pérola. Depois passe o cordão dentro da segunda pérola e repita este passo para todas as pérolas seguintes, exceto a última. Na última pérola, adicione cola antes de apertar o nó e corte o cordão (este lado do cordão deve ser o que está a agulha, que também deve ser o lado mais curto). Em seguida, mude a agulha para o lado oposto do cordão, enfie as 6 pérolas e o último pedaço de arame francês. Enfie a argola do fecho e passe o cordão de volta pela última pérola. Certifique-se de não deixar muito espaço entre as 6 pérolas restantes, apenas o suficiente para dar nós entre elas. Antes de terminar cada nó duplo, adicione uma pequena quantidade de cola (para garantir o nó). Passe o cordão dentro da próxima pérola. Repita este passo para as outras 5 pérolas restantes. Por fim, corte a ponta do cordão. Para facilitar, produzimos um vídeo bem detalhado de cada passo, clique aqui para redirecionamento ao nosso canal do YouTube.

Length of the necklace: It is virtually impossible to predict the final length of the necklace. This is because natural pearls are organic materials, with different diameters. The best way is for you to decide on the length as you add pearls to the necklace. keeping a measuring tape closely. Although, in order to give you some reference on this, I created the following table, with approximate values:
Comprimento do colar: É praticamente impossível prever o comprimento final do colar. Isso ocorre porque pérolas naturais são materiais orgânicos com diferentes diâmetros. A melhor maneira é você decidir o comprimento à medida que adiciona pérolas ao colar, mantendo uma fita métrica próxima. No entanto, para lhe dar alguma referência, criamos a seguinte tabela:

Importante: A Angablue® não tem nenhuma relação nem recebe patrocínio das marcas recomendadas em nossos tutoriais. Portanto, não somos responsáveis por qualquer problema com pedidos ou desempenho de produtos que você possa enfrentar. Além disso, não somos responsáveis por itens que tenham sido descontinuados.
Assista a este e outros tutoriais através de nosso canal no YouTube (www.YouTube.com/angablue).
Para receber informações sobre novas aulas, siga-nos pelo YouTube e/ou Instagram.
©2001-2024 Angablue.com/EF. All Rights Reserved
